I've always loved candles. Like a real fire, there is something timeless about them. Humans have been making candles in one form or another for many centuries, and despite the invention of electric lights they haven't lost their appeal. They provide a soft, gentle light and can scent a room as well, and watching one flicker and glow is very calming .

When I was a child my uncle brought me back one as a present from his holiday in Austria. I still have it now, blue and white with blue gentian flowers moulded on it. I was hooked and started to collect a few, and as a teenager had a small collection of rainbow, fruit-shaped, beeswax-rolled and flower-shaped candles. My family joked that I collected them, but would never light one.

When I was a child my uncle brought me back one as a present from his holiday in Austria. I still have it now, blue and white with blue gentian flowers moulded on it. I was hooked and started to collect a few, and as a teenager had a small collection of rainbow, fruit-shaped, beeswax-rolled and flower-shaped candles. My family joked that I collected them, but would never light one.
Nowadays I still buy them, but it's the scent I love as well as the shape and colour, and I do light them (although I will admit that I do own some which are too pretty to light!). Inspired by these exquisite candles, I decided that I would make some of my own. I used to make them when I was a teenager, with a very limited kit of one saucepan, some wicks and wax pellets and one mould. It was quite messy, and I suspect that my mum was secretly relieved when I gave up.
So for Christmas this year Father Christmas very kindly brought me some basic candle-making items: moulds, wicks, dyes, essential oils and both soya flakes and beeswax pellets. I have decided to return to making my own, but this time I shall make coloured, scented ones. As the Christmas holiday and first day back at work were quite busy I knew I would have to wait a while before making them. That was mighty difficult because I've been quite excited about it, but on Sunday I had almost a whole day to myself and knew that it would be my designated candle-making day.

I got everything out, with newspaper to protect the work surfaces, and measured 500g of soya flakes into a bowl. I put it over a saucepan which was one third full of water and heated it up. Then I put the wicks into the jars and votive moulds, sticking them in place at the bottom with a tiny piece of rolled-up sticky tape. They needed to be held in place at the top too when the wax is poured in, so I used clothes pegs and pencils held together with elastic bands.

As the wax melted it needed to be stirred regularly. I chose soya instead of paraffin because it's a more natural product, it has a longer burning time and is easier to clear up. I melted it in a heat-proof bowl over a saucepan of hot water until it reached 170 degrees, and used a jam thermometer to check.


Now for the dye - which colour to choose? I'm in a pastel colours mood at the moment, so I chose light blue. I knew that it would be trial and error at first to find out how much to add, so erred on the side of caution, and only put a little in, chopping it into very tiny pieces first.

The molten wax turned blue quite quickly.

Then it was time to add a few of drops of essential oil. I've got a few oils, and chose to mix nutmeg and peppermint. I knew that these go well together because I once bought a pillow-spray which contained these two scents. I used about 6 drops of each one.

Having mixed it all together, I poured it carefully into the moulds and jars, making sure not to burn myself. At this point the wicks started to go a bit wobbly, so I worked hard to make them stand up straight.

Once I was happy with them, I washed up the bowl and spoon in hot soapy water. But I didn't want to stop there. Oh no, I wanted to make more - this was fun! So I melted some more wax flakes and added some lemon, and some lavender oil. This time I decided to keep the natural soy wax colour, so didn't add any dye. I made two candles, one in a glass candle holder, and one in a jar. But there was some left over, so I quickly hunted about and found a little egg cup. The size was just right, and I popped a wick in, filling it with the last of the wax. Phew - all done!

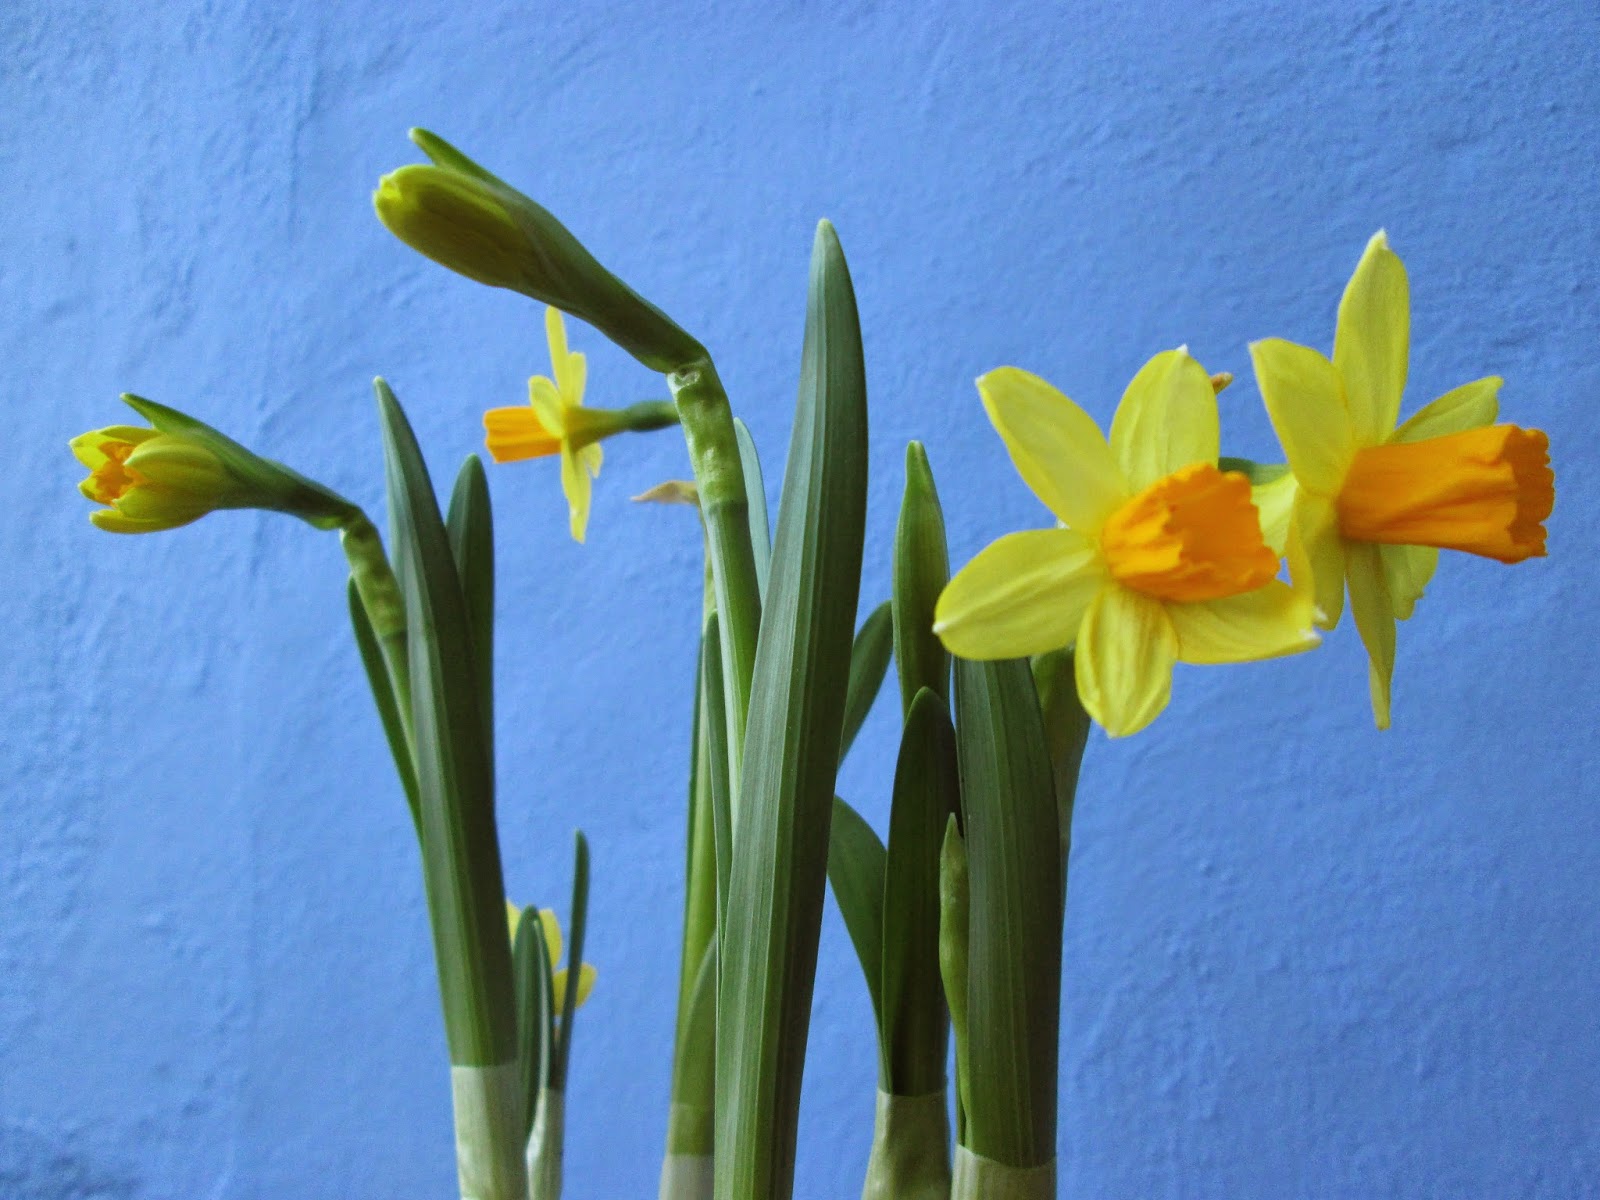
I left the candles at room temperature to set for a day. The colours turned out exactly as I wanted, which was very pleasing. Here they are in front of my first bunch of daffodils of the year!

They have a nice creamy, chalky appearance. I was especially pleased with the egg cup candle, and think it looks rather sweet.


It really was easy to do, and I shall definitely make more now, and try different scents, colours and shapes. Can't wait!
So for Christmas this year Father Christmas very kindly brought me some basic candle-making items: moulds, wicks, dyes, essential oils and both soya flakes and beeswax pellets. I have decided to return to making my own, but this time I shall make coloured, scented ones. As the Christmas holiday and first day back at work were quite busy I knew I would have to wait a while before making them. That was mighty difficult because I've been quite excited about it, but on Sunday I had almost a whole day to myself and knew that it would be my designated candle-making day.
I got everything out, with newspaper to protect the work surfaces, and measured 500g of soya flakes into a bowl. I put it over a saucepan which was one third full of water and heated it up. Then I put the wicks into the jars and votive moulds, sticking them in place at the bottom with a tiny piece of rolled-up sticky tape. They needed to be held in place at the top too when the wax is poured in, so I used clothes pegs and pencils held together with elastic bands.
As the wax melted it needed to be stirred regularly. I chose soya instead of paraffin because it's a more natural product, it has a longer burning time and is easier to clear up. I melted it in a heat-proof bowl over a saucepan of hot water until it reached 170 degrees, and used a jam thermometer to check.
The molten wax turned blue quite quickly.
Then it was time to add a few of drops of essential oil. I've got a few oils, and chose to mix nutmeg and peppermint. I knew that these go well together because I once bought a pillow-spray which contained these two scents. I used about 6 drops of each one.
Having mixed it all together, I poured it carefully into the moulds and jars, making sure not to burn myself. At this point the wicks started to go a bit wobbly, so I worked hard to make them stand up straight.
Once I was happy with them, I washed up the bowl and spoon in hot soapy water. But I didn't want to stop there. Oh no, I wanted to make more - this was fun! So I melted some more wax flakes and added some lemon, and some lavender oil. This time I decided to keep the natural soy wax colour, so didn't add any dye. I made two candles, one in a glass candle holder, and one in a jar. But there was some left over, so I quickly hunted about and found a little egg cup. The size was just right, and I popped a wick in, filling it with the last of the wax. Phew - all done!
I left the candles at room temperature to set for a day. The colours turned out exactly as I wanted, which was very pleasing. Here they are in front of my first bunch of daffodils of the year!
They have a nice creamy, chalky appearance. I was especially pleased with the egg cup candle, and think it looks rather sweet.
The votives weren't keen to come out of their moulds, so I popped them in the freezer for a couple of hours, and they came out beautifully. One lost a bit of its edge, but otherwise they were fine.
I trimmed the wicks to about 1.5 cm.
For a first attempt I'm very pleased with my candles. Their scent doesn't seem very strong, but I'll wait until I burn them to see how scented they are.
I lit a lemon and lavender one and was delighted that it burned evenly and slowly. It wasn't as highly scented as I'm used to in bought ones, but there was a bit of a perfume. I shall have to experiment with future batches.
It really was easy to do, and I shall definitely make more now, and try different scents, colours and shapes. Can't wait!